
Follow this routine and you can get super pretty nails that will make everyone jealous ;)
Step 1. Paint your nails in a clear base coat, this will make the nail polish easier to remove when you want to take it off and try something new.
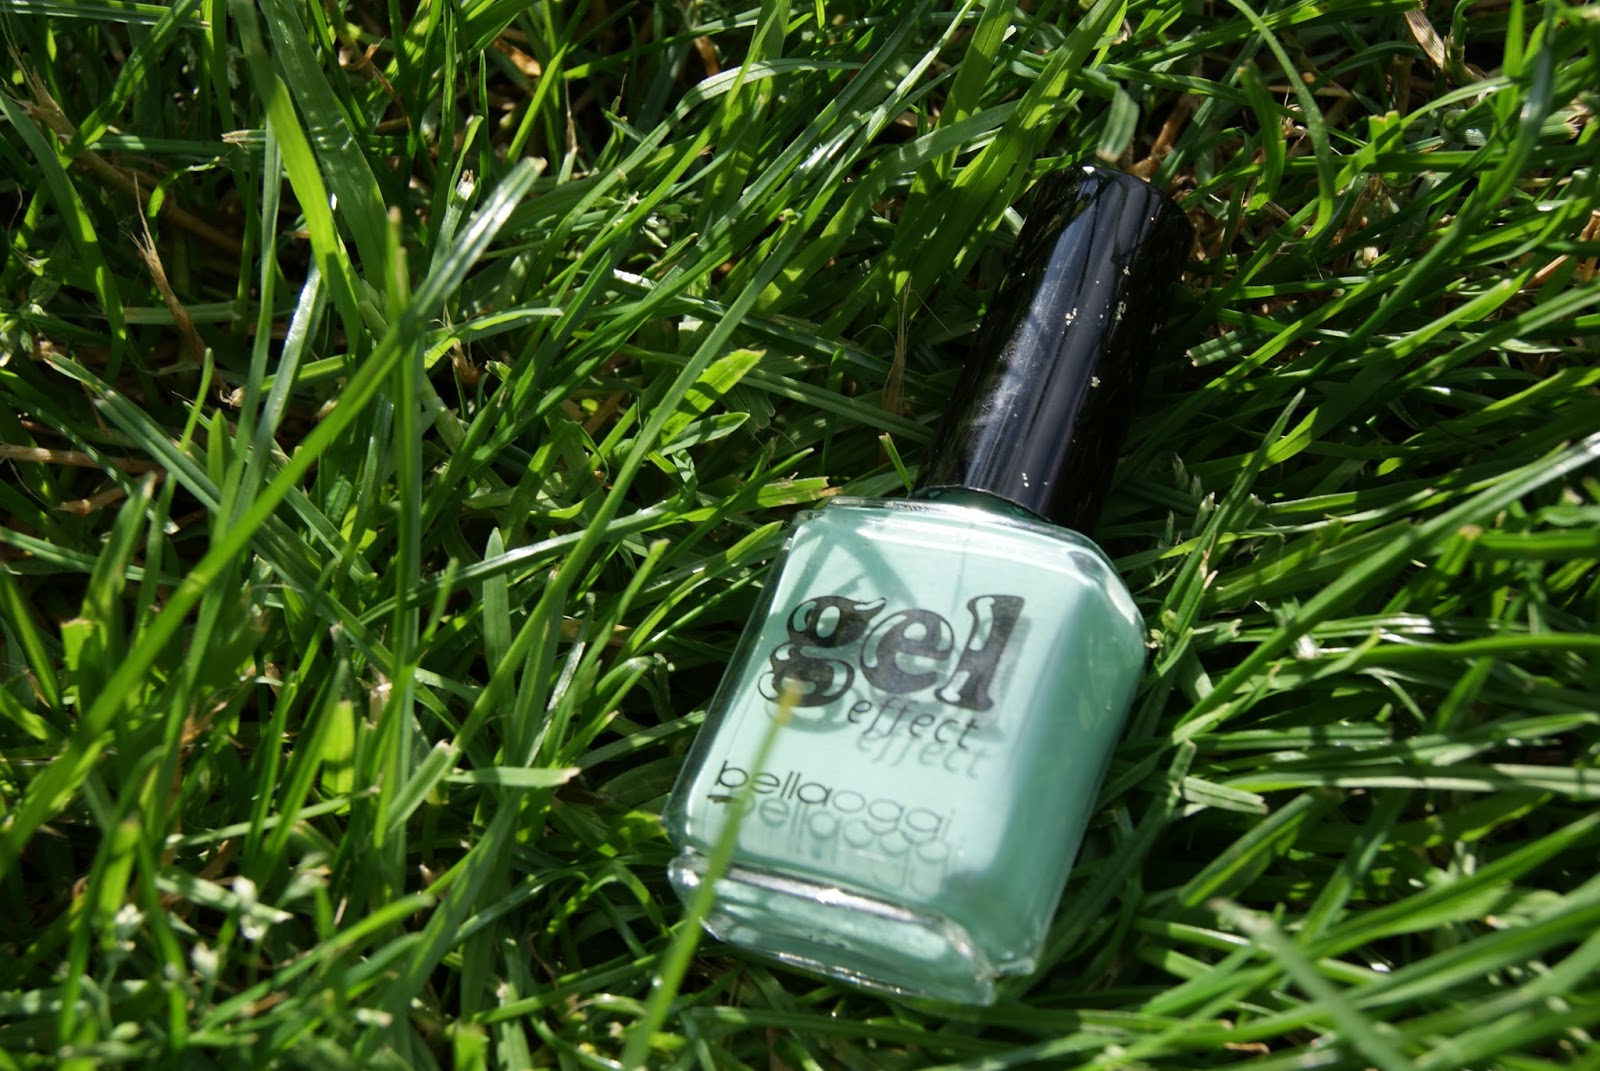
Step 2. Once the base coat has properly dried, carefully paint over the top with your turquoise nail polish. Take your time with this, make sure this layer isn't too thick other wise it will never dry. I recommend you use a 'stay perfect' polish for this as I think they work the best.
Step 3. Quickly after each nail is painted, take a small amount of nail glitter and sprinkle it onto the wet polish. Remember "less is more" so don't go overboard when doing this as a smaller amount looks so much better.

Step 4. Leave the glitter to stick to the drying polish. Once it has dried your nails may feel a little crusty, to make them feel smooth again put another coating of clear over the top. This will make your nails smoother and shinier.

And there you are, perfect turquoise nails which doesn't take any time at all! Turquoise may not match with everything, but it's good to clash and mix and match. Don't you agree? ;)
Great post, thats such a lovely colour too :)
ReplyDeleteMeg xx
peachpips.blogspot.com